Canning Ham with Homemade Stock

I baked a ham last week and with only the two of us to eat it, I had a good amount leftover. My ham was a bone in ham and weighed about 7 1/2 pounds. We had ham dinner for two nights.
I removed as much of the meat off the bone as I could and cut it up, then made stock from the bone. I made it in my Instant Pot. You could also make it on the stove top or in the crockpot.
I put the ham bone and the juices from the pan that I had baked it in into the IP. I added about 10 to 12 cups of water. I didn't add any salt because ham is usually salty enough. You could also add extras to the stock such as onions or carrots or what ever you would want. I was fine with the stock as is.

I put the lid on the IP, turned the knob at the top to "Seal" and set the timer for 60 minutes..

When the time was up I let the pressure come down on its own. Then I removed the lid and took the ham bone out of the pot. There was still a bit of meat on the bone that I removed and added with the rest of the ham I had.


I strained the ham and had about 12 cups of stock..
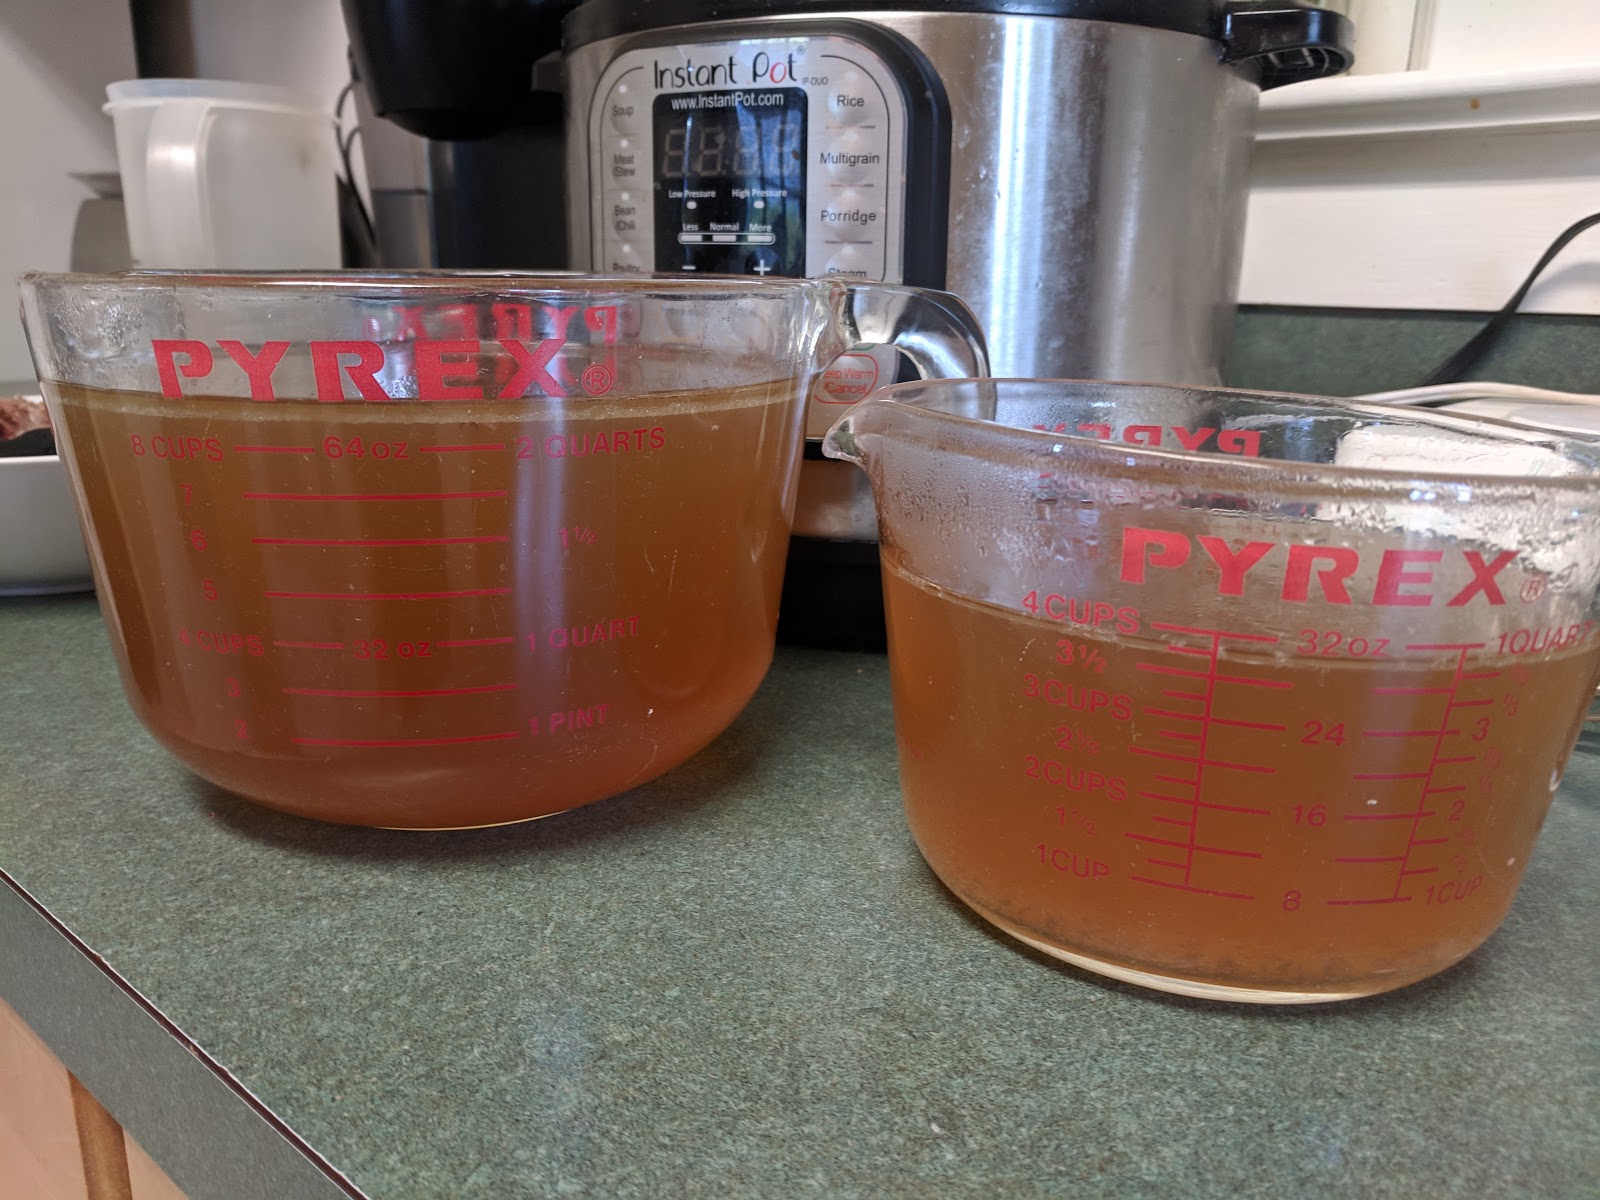
I put it in the fridge overnight to let the fat rise to the top and remove it.

Now I was ready to can! I washed my jars and rings..


I ended up washing more jars then I needed. I wasn't sure how much I was going to get out of it all. I also used pint jars for this. Pints are a great size for two people. In the old days I would have done quarts and I would not have bothered to can such a small amount. But seeing as it is for two people it ended up being worth it to me.
I began by putting the ham into the jars. I did not fill the jars to the top with the ham. I plan on using this ham/stock for soup making and I only wanted enough to nicely flavor a small pot of soup.

Then I filled the jars with ham stock leaving 1 inch of head space at the top of the jars. I had enough stock leftover to fill one jar with just the stock, no ham. It will work great for flavoring a pot of beans or soup as well.

I had my brand new lids in a pot of warm water waiting for the next step. I carefully cleaned the rims of the jars with a clean wash cloth and put a lid and a ring on each jar. Remember not to screw the rings on to tightly.


Now it was time to put them in the canner.

I should also mention that my stock and my ham were cold. I put the jars in a non heated canner. This way everything will come up temperature at the same rate.
I put the lid on and set my burner on 'High"...

(excuse the way my canner looks.. it's about 30 years old and has seen a lot in its life! Ha, ha!)
I let the canner vent for 10 minutes (Venting means allowing the steam to flow through the top vent before adding the weight on and building pressure)
After the venting time was up I put the weight on the top and let the pressure build. For my elevation I need to can at 11 pounds of pressure. Be sure to check your requirements for your elevation. You can find a basic chart for that HERE.

It's good to know that you can go above the recommended pressure, but never below. If it drops below you need to start the timing all over.
When you reach your desired pressure you can slowly begin turning down the heat on the burner. Do it slowly so you don't drop to low. Eventually you'll find that sweet spot that keeps the canner humming along at the right pressure for the needed time.
In my case the needed time was 75 minutes.
All meats have to be canned under pressure for 75 minutes if you are doing pint jars or 90 minutes if you are doing quart jars.
It's a good idea to babysit the canner and not walk to far away from it just to make sure the pressure stays where it's supposed to. Once you have the burner at the right temp to maintain your pressure you can check on it periodically to verify all is going as it should.
While the pressure canner is doing its thing and I'm keeping an eye on it I take the time to clean up the kitchen and wash up the dishes..

When the time is up allow the pressure in the canner to come all the way to zero before opening the lid. Don't try to hurry up this process.

When it's at zero again open the lid and carefully remove your jars. Put the jars in a place that is free from drafts. The contents in the jars will still be very hot and often still be boiling. Let the jars sit until they've cooled completely. I usually wait until the next day.

After they've cooled you can check to make sure the jars are sealed and remove the rings. They can now be stored on the shelf and ready for whenever you need them.
PLEASE NOTE:
Meats and broths MUST be pressure canned. You have to have a pressure canner to do this safely. Only high acid foods such as fruits or pickles can be canned in a water bath canner.


Thank you for sharing this! There's just two of us now as well and I don't always think about canning these kinds of things, but you've inspired me to get the pressure canner out ;)
ReplyDeleteOh good! I haven't done a lot of canning since it's only been the two of us. But I do like being able to do smaller batches nowadays. I have a turkey in my freezer I'm thinking about next. 😀
DeleteCrystal 😊